
Setting Up a Development Environment
We'll cover bootstrapping a MacOS or Debian-based Linux machine with a slick and productive terminal, and how to setup your workflow with Git, SSH, and Node.js
This guide is a recipe for setting up a development environment that is easily replicable, spruces up the shell in furtherance of productivity, and aims to make managing SSH and Node installations more seamless. It's aimed at developers using MacOS or some flavor of a Debian-based Linux distribution. If you're on Windows and want to try development in a Linux environment, you can check out Developing on Windows with WSL.
Legible type
The first step is choosing a font that's easy on the eyes. Hack is a monospace font which were designed for code. It has a natural style that is both distinct and legible. You can read more about the original Hack, but we'll be using a modified version of the font to take advantage of the extra glyph support later when we install the terminal prompt.
You can head over to Nerd Fonts and check out their collection of powerline fonts, but if you want additional ligatures like the fat arrow, equality, and destructuring symbols, you'll need a copy of Hack that is patched accordingly. I've been using Damien Rajon's patch which includes that extended ligature set.
If you're on Ubuntu, you can install the font simply by dropping its relevant typefaces in ~/.local/share/fonts.
Terminal emulator
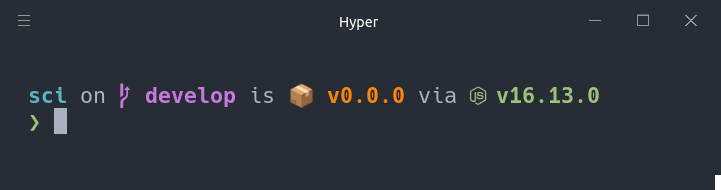
Hyper is an Electron-based terminal emulator that is built with HTML, CSS, and JavaScript. Hyper remodels the somewhat arcane terminal window into something worthy of induction into the 21st century. It also pairs remarkably well with the prompt we'll install in the next section.
Go ahead, and grab Hyper. I've denoted the configuration changes I've made to my installation in .hyper.js. Hyper's configuration file can be found in your home directory.
# take care to use the current version number
$ sudo apt install ./hyper_3.1.4_amd64.deb
On MacOS you can simply grab the appropriate installer package for the silicon your machine is running. Hyper is compiled for both Intel and Apple chips.
module.exports = {
    config: {
        // up the font size a few notches
        fontSize: 17,
        // set your chosen powerline font
        fontFamily: 'Hack Nerd Font Mono, ..., monospace',
        // tweak the padding a little
        padding: '12px 14px 12px 22px',
        // specify the plugins it should install from npm
        plugins: ['hyper-one-dark', 'hyperpower'],
    }
};
The prompt
Recently I switched from using Denys Dovhan's spaceship-prompt to Starship. The latter is a fairly new arrival to the prompt scene and allows the user to stay on Bash (or pretty much the shell of their choice), while having an extensive feature set and extensibility profile. It's also cross-platform, and installs in a jiffy.
# this will install Starship on MacOS & Linux
$ curl -sS https://starship.rs/install.sh | sh

# alternatively, if you're on a Mac and prefer Homebrew
$ brew install starship
Once the above command has ran its course, you need to add the following line to the end of your ~/.bashrc
eval "$(starship init bash)"
Done. Time to take your shiny new terminal for a spin.
Git setup
The Git DVCS is a stock part of most setups. Note that, if you know you're not going to need extras like a revision tree visualizer, tools for working with other VCS's, or a web interface etc, or if you are in an environment strapped for disk space, you can just install git by itself with sudo apt install git.
# check if you have Git installed
$ which git

# otherwise get it
$ sudo apt install git-all

# let's make sure all went well
$ git --version

# configure your git globals
$ git config --global user.name "Your Name"
$ git config --global user.email "user@users.noreply.github.com"
Git on MacOS
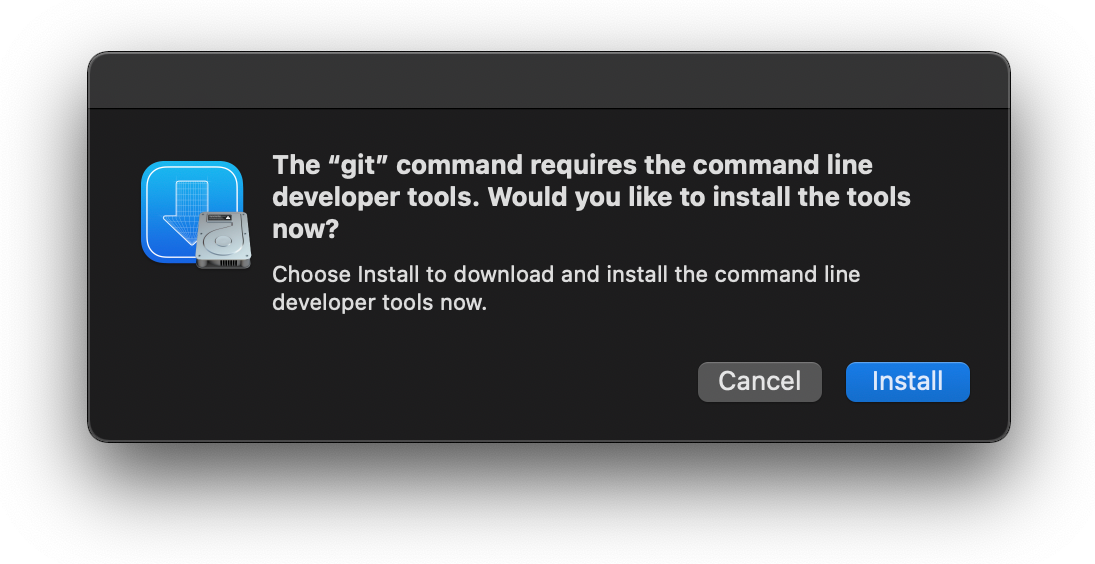
For MacOS, you'll need to install its command line developer tools to get Git installed. Unless you're going to develop applications for any of Apple's platforms, you do not need to install the full Xcode IDE to get Git.
To install the command line tools package, open the terminal and run the git command. This should prompt you to install it. Alternatively, run xcode-select --install to initiate the installation prompt.
Autocompletion
Next, we'll setup autocompletion for Git on Bash. The people at Git maintains a script for this purpose. Download it to a directory fo your choice, in the following example I'll go with the user's home:
$ curl https://raw.githubusercontent.com/git/git/master/contrib/completion/git-completion.bash -o ~/.git-completion.bash
Add the following snippet to your ~/.bash_profile or ~/.bashrc
if [ -f ~/.git-completion.bash ]; then
  . ~/.git-completion.bash
fi
That's it. Reload your shell and your Git setup should now be in fair shape.
# you may have to make that script executable
$ chmod +x ~/.git-completion.bash

# reinitialize your shell
$ source ~/.bash_profile
SSH setup
We'll set a configuration file containing our SSH keypair identities to make working with SSH more seamless by pre-authorizing our sessions, and to make granular management of multiple hosts more efficient and replicable.
# check if you have an existing keypair
$ ls -la ~/.ssh/

# otherwise, generate a new public/private pair
$ ssh-keygen -t ed25519 -C "identifying label for keypair"
Follow the prompts by setting a password for the new keypair, and saving the file in ~./ssh/ under a unique name if you plan on using a custom SSH config, like ~/.ssh/git_machine_x.
# add ssh key to ssh-agent
$ eval "$(ssh-agent -s)"
# add your private key to the agent
$ ssh-add ~/.ssh/git_machine_x

# add the public key to the account you want to access
$ cat ~/.ssh/git_machine_x.pub
Configure your SSH settings file in ~./ssh/config
AddKeysToAgent yes
PasswordAuthentication yes

# GitHub | Machine X
Host github.com
    HostName github.com
    User git
    IdentityFile ~/.ssh/git_machine_x
    IdentitiesOnly yes
Installing Node
Since we're setting up a development environment, we're going to use nvm to manage our Node.js installations. In the next step we're going to install the latest version of nvm. Be sure to update the version number to the latest stable release before you run the command.
# the script will clone the nvm repository to ~/.nvm
$ curl -o- https://raw.githubusercontent.com/nvm-sh/nvm/v0.39.0/install.sh | bash
All that remains now is to verify the installation and install the version(s) of Node you need.
# verify install
$ command -v nvm

# you can install the latest LTS version of Node
$ nvm install --lts
Shell helpers
It pays to furnish your .bash_aliases with a couple of helpful convenience methods or shortcuts for frequently used commands. It's a simple way to save yourself a healthy amount of time and keystrokes down the line. You can take this further with shell functions to enhance your workflow and efficiency even more, but that is beyond the scope this basic setup guide.
# create an alias file
$ touch ~/.bash_aliases
Flesh out your .bash_aliases with some helpful shortcuts, whether it's a simple alias or a function that can accept arguments from stdin.
# setup some aliases
alias ~="git status"
alias v="git add -A"
alias t="git pull"
alias s="git push"

# stages and commits with message
function p() {
    git add -A && git commit -m "$*"
}
There's a chance you'll need to declare your .bash_aliases for them to be picked up by the shell during startup. Add the following check to your .bash_profile so that it can source your aliases:
if [ -f $HOME/.bash_aliases ]
then
  . $HOME/.bash_aliases
fi
IDEs & Editors
At this point you'll probably want to set up your code editor or IDE. VS Code is a popular option, but if you're using a JetBrains product there's a utility they provide that makes installing and maintaining one of their domain-specific IDEs a breeze.
# install the Toolbox App to the /opt directory
# also creates a symlink to /usr/local/bin
$ curl -fsSL https://raw.githubusercontent.com/nagygergo/jetbrains-toolbox-install/master/jetbrains-toolbox.sh | bash
Gotchas
Project tool pipes often implement a file watching mechanism whose scope in some larger code bases may exceed the watch limit set by a stock Linux environment. You may run into an error on your first pnpm run command that reads something like
Error: ENOSPC: System limit for number of file watchers reached, watch 'src/...' at FSWatcher.
from stdout.
A simple solution in this case is to increase the default limit of nodes that can be watched as the following code snippet illustrates.
# increase the file watch limit
$ echo fs.inotify.max_user_watches=524288 | sudo tee -a /etc/sysctl.conf
$ sudo sysctl -p